
How to Make a Custom QR Code for Free (Honest Step-by-Step)
You don't need to pay for a QR code, and you don't need design skills to make one that looks intentional instead of default. What you do need is ten minutes and a checklist, because most QR failures — the code that won't scan at the wedding, the invite nobody could open — come from three preventable mistakes. Here's the honest walkthrough, mistakes included.
Step 1: Know what your QR will point to
A QR code is just a link wearing a costume. Decide the destination first:
- A URL — a website, a video, a playlist, an event invitation page. Most flexible option.
- Plain text — a message that appears on scan, no internet needed. Limited but offline-proof.
- Wi-Fi credentials — scanning connects guests to your network. Great for parties and rentals.
- Contact card or phone number — scanning saves your info.
💡 Pro tip: If the destination is a page you control, prefer a link you can edit after printing. Printed 200 wedding invites and then changed the venue? An editable destination saves the reprint; a hardcoded one doesn't.
Step 2: Generate it (genuinely free)
Use a free QR code generator — paste your link, and the code appears instantly. Two honesty checkpoints while choosing any generator:
- Beware of "free" trials. Some services generate a working code, then deactivate it after 14 days unless you subscribe — and your printed invitations die with it. Confirm the code is static (permanently encoded) or that the service keeps free links alive.
- Download the right format. PNG at high resolution for digital use; SVG or PDF if a print shop is involved. A blurry, upscaled QR is a broken QR.
Step 3: Customize color and logo 🎨
Customization is where QRs go from utilitarian to on-theme — and where most scanning failures are born. The safe rules:
- Dark code, light background. Always. Navy on cream: fine. White on black (inverted): many scanners fail. Gold on white: not enough contrast, will misfire.
- Keep the contrast strong. If you squint and the code fades into the background, a camera will agree with you.
- Logo in the center only, small. QR codes have built-in error correction, so a logo covering up to roughly 20% of the middle is fine. Never cover the three big corner squares — those are how scanners find the code at all.
- Rounded dots and custom shapes are fine — they're a rendering style, not structural damage. Frames with a "Scan me" label genuinely boost scan rates at events.
Step 4: Size it for the scanning distance 📏
The rule of thumb: the code's width should be at least 1/10 of the scanning distance.
| Where it lives | Typical scan distance | Minimum code size |
|---|---|---|
| Business card, gift tag | 20 cm | 2 × 2 cm |
| Invitation, flyer | 30 cm | 3 × 3 cm |
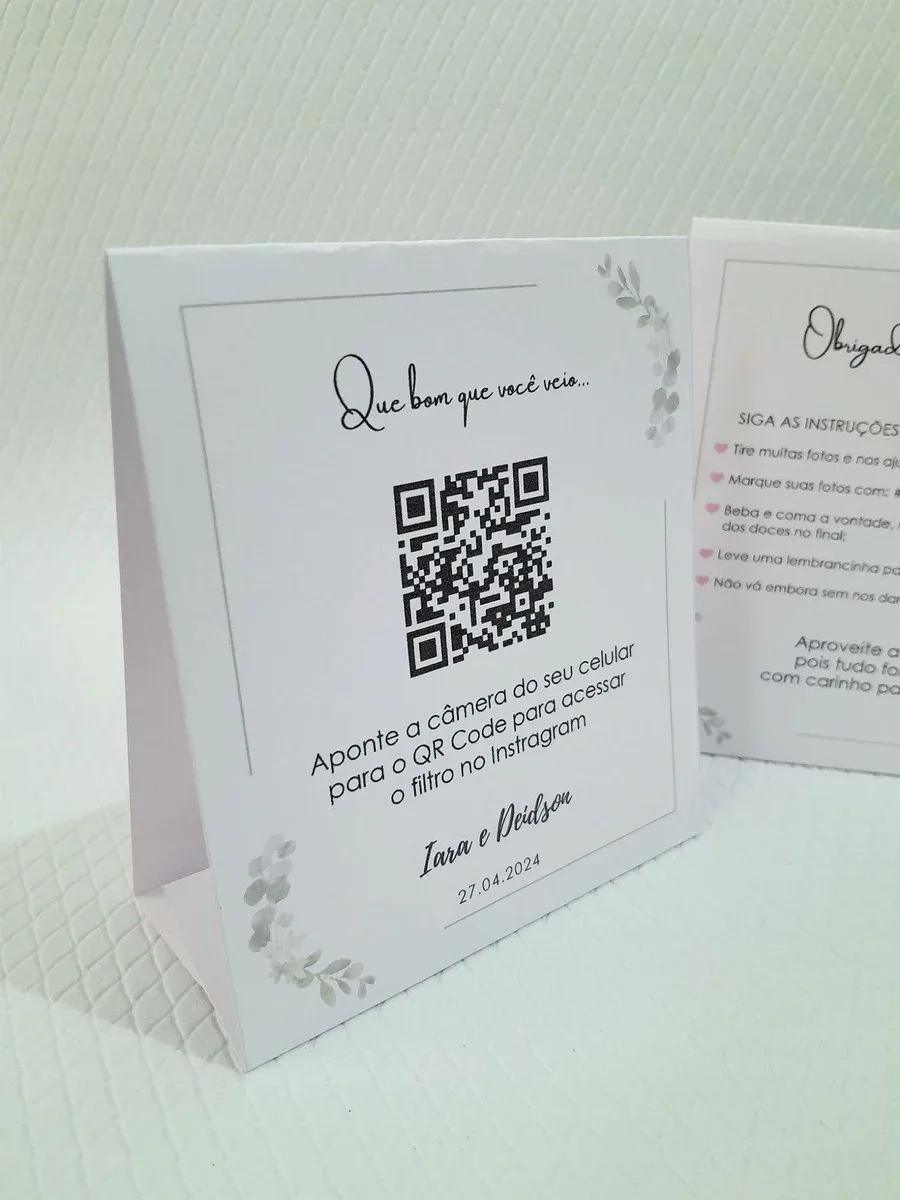
| Table tent at an event | 50 cm | 5 × 5 cm |
| Poster at a party entrance | 1.5 m | 15 × 15 cm |
| Banner or projection | 3 m+ | 30 × 30 cm+ |
When in doubt, go bigger. Nobody has ever complained that a QR code scanned too easily.
Step 5: Test like you mean it ✅
Before printing 100 of anything:
- Print one copy on the actual paper you'll use.
- Scan it with two different phones — one iPhone, one Android if possible.
- Test in the real lighting: dim restaurant, sunny park, wherever it'll live.
- Test at the real distance, held casually, not aimed like a sniper.
- Have someone over 50 test it without instructions. If they succeed unaided, ship it.
The mistakes that break QR codes ❌
- No quiet zone. The white margin around the code (about 4 modules — the width of 4 of its small dots) is mandatory. Cropping it "to fit the design" is the #1 print-shop casualty.
- Glossy lamination. Glare can make a perfect code unscannable under overhead light. Choose matte.
- Printing on curves. A QR wrapped tightly around a bottle distorts. Put it on the flattest surface available, or use a hang tag.
- Too much data in a static code. Encoding a 500-character text makes the code dense and fragile. Encode a short link to the content instead — the code gets simpler and scans from farther.
- Never testing the printed version. The screen preview always works. Paper is where codes go to fail.
Once your code scans clean, it's done — no expiry anxiety, no subscription hostage situation. Generate it, style it to your event, print one test, and then print the rest with confidence.